Blogs Merged

To my dearest lovely readers,


Thank you so much for reading this blog from time to time. Just want to inform you all that I have moved all the blog posts here towww.josarine.com and I will be updating my beauty related blog posts there from today on wards as I am not able to maintain 2 blogs.

Thanks again for your support! :)

<3.

Thursday, September 27, 2012

Salmon Fried Rice Recipe (Less fat and MSG)

Hey everyone!

First off, I'm not a cook other than cooking at home ONCE IN A WHILE when i feel like it. But anyhow I love eating food that are high in carbs like fried rice and fried noodles, maggi goreng (yummm).

If I were to eat outside, there'll definitely have a lot of salt and/or MSG which I don't like and also the noodles or rice most of the time taste very oily.

So the other day I was thinking what to cook for lunch, for my sister when she gets back from school, and for myself. My mum told me to cook the salmon because it can't be kept for too long. At first my mum suggested to fry the salmon and eat with rice, but at that time I craved for fried rice.

Due to that I decided to make Salmon fried rice instead, but with a healthier recipe and it turned out to be pretty good. This is not for people who are under super strict diet, but rather a healthier choice.

So the things you'll need are....


  1. Garlic - one or two depending on how much you like garlic
  2. Onions - As much/little as you like
  3. Salmon - I used one Salmon and sliced them into cubes and removed the bones.
  4. 2 egg whites - since i'm cooking for two
  5. Yesterday's rice
  6. Olive Oil
  7. Sesame Oil
  8. Oyster Sauce
  9. Oregano Herbs
  10. Black Pepper (If you want)

Step 1
 

Put some Olive Oil and fry the egg whites. 

Step 2
Pour in the onions and garlic.

Step 3
Pour in all of the Salmon that you've sliced and stir till the salmon is cooked. Once the Salmon is cooked pour your rice in. Rice roughly around two to three bowls

Step 4
Pour a few drops of Sesame Oil and stir

Step 5
Put a few drops of Oyster Sauce like the picture below, more or less depending on how much taste you want. Stir

I was really casual while cooking this and had to taste around three times to get the taste I wanted, so I do suggest you taste the rice first before you take them out. :)

Step 6
Put in some Oregano, not too much just a little to enhance the smell and taste. Stir

And there you have it! Simple and healthier Salmon Fried Rice. 

I hope you enjoyed this post! :)


If you like this blogpost please do follow me on:
1. Google Friend Connect
2. Twitter: joanna_sara
3. 'Like' my Facebook Page!
4. Instagram: JOSARINE
5. Do subscribe to receive updates!
 Hope you have a great week ahead! Bye... :)

Monday, September 24, 2012

Hair Chalking Review

Hey there ladies!

So I notice recently that hair chalking has become pretty popular. Not only does it look nice and colourful, it is also fun to do! One thing that I like about hair chalking is that you can change your colours anytime and don't have to worry about your hair growing out. I love that you can match your hair with the clothes you wear on certain occasions. :) 

Noticing the hype of hair chalking I decided to get one for myself to try and probably just have fun! I bought mine from www.strawberriesbite.blogspot.com for only RM50 for 64 colours!


Look at the beautiful colours! 


The chalk is actually very pigmented. I just swipe my finger one time and look at how thick the colour showed on my finger!


How to use?
I believe that there are many ways to apply this, it all depends on individual's preference. I've seen some people wet their hair first, and then take the chalk and rub it on the hair. I did try that but I find it annoying because if I do that my fingers will be filled with the colour like the picture below. 


Soooo...I discovered another way to do it! I take the chalk, dip the end of the chalk into a cup/bowl of water and then apply it on my hair. Apply downwards only! If you apply up and downwards you might cause more damage to your hair. 

After that, you can either blow dry (make sure to set it hot because warm and cold will not help the colour stay on), hair straightener, or hair curler. Personally I would want to stay away from direct heat such as hair straighteners and curlers because they are more damaging to the hair as compared to a hair dryer. 

So here's my results!

Picture without flash

With flash
The colour is much more obvious if I don't use flash. 

Pro:
  • Fun to do as you can match your hair with your clothing.
  • Colour is pretty obvious and striking
  • Does not take too long to apply. (Depends how much hair you want to highlight)
Cons:
  • After applying your hair will feel very dry. After all it's chalk.
  • It can leave marks on your clothing if you chalk the ends of the hair and if you did not blow dry it properly
Rate: 3/5
Repurchase?: Maybe

There's no expiry date for this product so don't worry about rushing and finishing them off before they expire. 
Messiness depends on individual, some people said it's messy but for me it was pretty okay. 

*Please do not do hair chalking regularly because it is very drying for the hair. After your party or occasion, when you wash your hair the next day remember to condition well, as well as apply serum or leave in hair moisturizers/conditioners on your hair, focusing on the areas you chalked.  


Hope you enjoyed this post! :)


Love,
Joanna


If you like this blogpost please do follow me on:
1. Google Friend Connect
2. Twitter: joanna_sara
3. 'Like' my Facebook Page!
4. Instagram: JOSARINE
5. Do subscribe to receive updates!


Sunday, September 23, 2012

St. Ives Apricot Scrub (Blemish & Blackhead Control) Review


I've tried a few facial scrubs before and so far I find this most effective as compared to the other scrubs I've tried. The product that i'm reviewing is the Naturally Clear Apricot Scrub for Blemish and Blackhead Control. It is stated to be "America's #1 Scrub that gently cleans  pores and helps stop breakouts before they occur".

This product contains 2% of Salicylic Acid that is known to cleanse by penetrating into pores instead of just cleansing the outer surface. The purpose has been stated "Acne Treatment" but it works Blackheads too. 

The texture of this product is like what the picture shows, cream based with mini beads that are from natural extracts. 

My Experience
My Skin Type: Combination to Oily with Large Pores and many Black and Whiteheads. 

I use this product alternate days, which means around 3 to 4 times a week like what the back states. 
What I feel from using this product is that it helps scrub off dead skin cells and the top layer of the black or whiteheads. I tried to rely on this product instead of squeezing my blackheads but truth to be told it can't be relied on that way. 

However it does help a lot when I use this product before squeezing out the dirt. The reason is because it scrubs off the dead skin cells that are blocking the blackheads from coming out, so when the dead skin cells have been removed I find it easier for the dirt to come out. I can't afford facial so I guess for now this is the best I can get. 

Although it does not remove my blackheads like magic :p, but it does leave my skin feeling smooth like there's no black or whiteheads. The only problem is I can still see my black and whiteheads. 

How I use this product?
First I would cleanse my face with my daily facial wash and then use this product. The product contains quite a lot of beads so be careful do not put too much pressure when scrubbing. 

Scrub in circular motions gentle. You may scrub a little longer for better scrub BUT do not scrub for too long because it will leave your skin dry. 

*There are a few types of Apricot Scrubs by St. Ives be sure to get the one for Blackheads. I've once tried the one for Sensitive Skin, a Gentle Scrub, it was not as effective as this one. 


Pros:
  • Exfoliates well, could feel the difference before and after
  • Skin feels smoother after scrub
  • Blackheads is slightly more controlled as compared to not using this product
  • Gentle scent
  • Many scrub beads
  • Affordable
Cons
  • It does not literally clear off the blackheads


Rate:3.5/5
Price:RM17.90 from Caring Pharmacy
Repurchase: Yes


If you like this blogpost please do follow me on:
1. Google Friend Connect
2. Twitter: joanna_sara
3. 'Like' my Facebook Page!
4. Instagram: JOSARINE
5. Do subscribe to receive updates!

 Hope you have a great week ahead! Bye... :)

Thursday, September 20, 2012

Tiger Balm Neckand Shoulder Rub Review

Advertorial


Hey guys!

I know that many people, including students have been so stressed out with assignments and exams, adults stressed out with work, etc etc; and most of the people now days literally are glued to their computers. Due to that many people are experiencing the lack of rest, in which is the most important thing for our human body to recover from any aches, pain, and sicknesses. 

The long hours of sitting in front of the computer and lack of exercising will eventually be bad for the body system, as well as cause soreness for the body such as a sore neck and shoulders, and even the back. 

Not only working people but housewives as well experience daily exhaustion from doing house works and taking care of their kids and husband. What more to say about Super Mums and Super Dads? They have to work, do house work and take care of their kids.

To be honest, personally for me I tend to often hunch when I’m using my laptop. Unfortunately I have not gotten my work table yet and due to that I have to sit on the floor using those “Breakfast in bed” table from IKEA as my work table for now. I have been sitting on the floor or my bed while using my laptop for more than one year now and every time when I use for about three hours or so my neck would get sore and sometimes a little painful.


Recently I heard about the new Tiger Balm Neck and Shoulder Rub so I decided to give it a try. I’ve heard of the brand Tiger Balm and used to use them mainly for headaches so it is a brand that I know of and trust hence it was not a difficult decision for me to decide to try it out.  

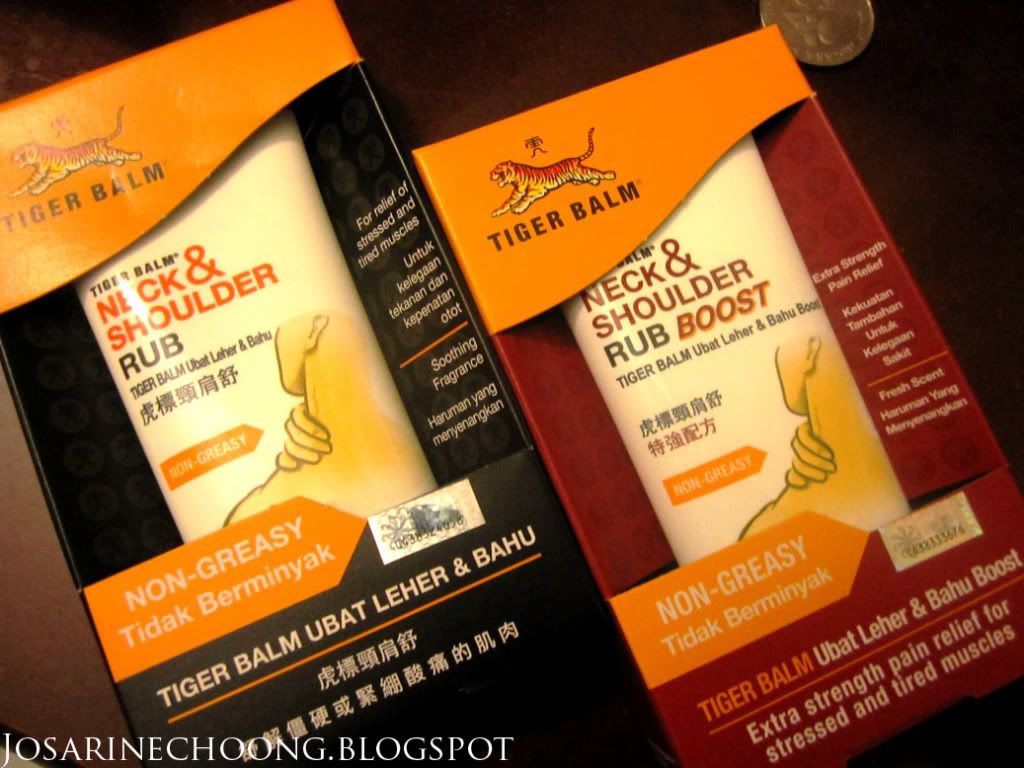
The Tiger Balm Neck & Shoulder Rub comes in two variants, the regular and the BOOSTThe Tiger Balm Neck and Shoulder Rub has a soothing lavender fragrance that provides lasting relief for mild neck and shoulder aches. As for the Tiger Balm Neck and Shoulder BOOST, it has a refreshing scent that invigorates as well as provides extra strength and lasting relief for over-stressed, tired and stiff neck and shoulder muscles. (I think I need this one more)

The one thing that got my attention into trying this product is because it is NON-GREASY. A product that helps soothe your aches at the same time does not leave a sticky and greasy feeling is perfect for “on the go”. It is also the first and only product that is specially formulated to provide relief for neck and shoulder aches and tension.


My Experience

So I tried this product out cause of my sore neck and shoulders. I’ve got to say that the smell is not too bad and the feeling is really nice. After my mum applied it on me together with a little bit of massage, the cooling effect lasted for a few hours to which I’m really surprised. I would say that the Rub absorbed pretty quickly and using it for just one night did relieve my aches a bit. (Do know that the effectiveness of this product varies depending on individual.)

However this isn’t a magic lotion when you apply once and your aches will be cured, I would say it did help relieve the aches but does not cure completely after one application. 

The Tiger Balm Neck and Shoulder Rub also helps me feel more relaxed when I apply them right before bed. Sleeping with the cooling sensation is just relaxing.


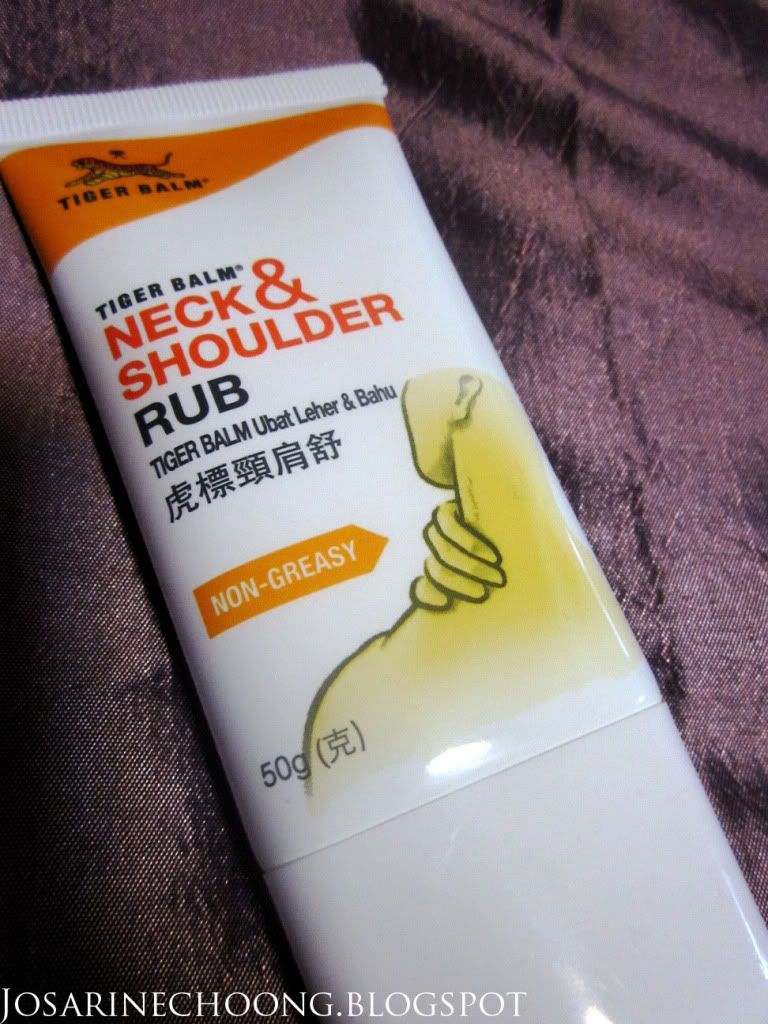
Personally I think that people who are often busy and sit in front of the computer for long hours or those who carries heavy stuff often should carry a bottle of this Tiger Blam Neck and Shoulder Rub. The bottle design is a flat 50g tube that is very convenient for carrying even for traveling. 

This is like a “Massage On the Go” where if you feel any part of your body is aching, with just an application you would feel so much more relieved, furthermore it does not leave any greasy or sticky feeling and I think that is really great. 

Because of the unfortunate incident where most people are having hectic schedules now days, they do not have time to go for a massage or spa, therefore the Tiger Balm Neck and Shoulder Rub will really help in soothing your ached and sore areas.


Pros
-          The cooling/menthol effect is long lasting
-          Non Greasy
-          Comes in a 50g tube that is convenient for carrying around
-          Contains fresh scent

Cons                  
-          it would be better if the scent was not as strong
-          If I applied this and sprayed perfume on me the smell might turn out really strange, it’ll be great if there’s no scent actually, so that I can use them often without an interference with my perfume scent.


Rate: 3.8/5
Repurchase: Yes


If you like this blogpost please do follow me on:
1. Google Friend Connect
2. Networked Blogs
3. Twitter: joanna_sara
4. 'Like' my Facebook Page!
5. Instagram: JOSARINE
6. Do subscribe to receive updates!

Hope you have a great week ahead! Bye... :)


Sunday, September 16, 2012

Banana Pancake Without Flour Recipe

So the other night I made some Banana Pancakes for my good friend's birthday celebration because she likes sweet stuff. The moment the picture of my Banana Pancakes was uploaded on Instagram I had immediate responses of likes. At the birthday celebration, some of her friends said it was tasty too and wondered how I made it without flour.

This Pancake is low in calories and high in protein, suitable for people who are on diet and to snack in between.

So today I'm here to reveal the "Secret Recipe". The things you'll need are...


- 2 Eggs
- 1 Banana
- Egg Beater
- Potato Masher
- Table Spoon


Step 1
Break the eggs. Most people would remove one or both of the yolks, but nope we are going to use the whole egg.

Step 2
Peel Banana, peel peel banana..... and use a spoon or knife or anything to chop the banana into pieces like the picture below.


Step 3
Smash them up! You may use the Potato Masher to smash the banana or the egg beater. But personally I find the potato masher more effective.


Step 4
Once you've mashed the banana you may beat the mixture with an egg beater. Be sure to mix it as much as you can. It is okay if the mixture isn't smooth, but try to have most of the banana mixed in with the egg.


Step 5
Put oil in the pan. Since this pancake is already low in calories you do not want to defeat the purpose by putting normal cooking oil. So use Olive Oil or another other oil that you know are healthy. :) Heat up the oil.


Step 6
Use a big spoon to scoop the mixture and gently pour them into the pan. Every stove is different so you really have to do trial and error. For me I usually put the smallest fire my stove can provide. But my smallest isn't that small either, so have test it out yourselves. :)


Step 7
Flip it like how you normally flip pancakes! :)


You may even make smaller pieces so you can easily pop them into your mouth.


Tadha! So easy right? Just 2 ingredients to make this! The outcome tastes exactly like Banana Pancake.

Note: The mixture has to be exactly 2 eggs and 1 banana, if you put 3 eggs the mixture would be more liquid and you can taste the egg when you eat them. To make more, just double up to 4 eggs 2 bananas.


*Credits to Blogilates.com


If you like this blogpost please do follow me on:
1. Google Friend Connect
2. Twitter: joanna_sara
3. 'Like' my Facebook Page!
4. Instagram: JOSARINE
5. Do subscribe to receive updates!
Hope you have a great week ahead! Bye... :)

Details

Hi ladies! Welcome to Beauty Sanctuary. Please do check out my lifestyle blog here.

My lifestyle blog includes:
- Food Reviews
- Events
- Movie Reviews
- Wine Reviews
- Random videos that are interesting.


Cheers!
joanna.cwm@gmail.com